Kids Can Make Cheese!
/Ronnie's Awesome List presents cheesemaking for kids by Louella Hill, known as The San Francisco Milk Maid and author of the book on home cheesemaking, Kitchen Creamery (Chronicle Books).
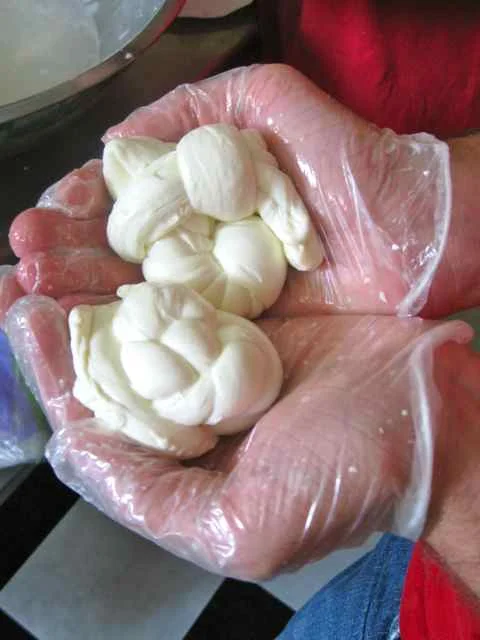
Cheese is looking pretty good these days. It’s gluten-free, sugar-free, protein-packed and doesn’t offend vegetarians. Despite cheese’s European roots, it's increasingly seen as something distinctly American. Sophisticated or unsophisticated, it makes us think of happy farmers and fuzzy animals. So the question is: Why are kids being left out of the fun? Below are two cheesemaking recipes JUST FOR KIDS that let them delight in the magic of turning milk into delicious finished cheese--and set them on the road to becoming true cheese gourmands.
Some Cheesemaking Basics
What is milk? Milk is mainly water but also contains fat, protein and sugar. We call these other parts the 'milk solids'.
What is cheese? Cheese is the milk solids plus a little trapped water. Often when making cheese we also use an ingredient called rennet (it's an enzyme) as well as cheese cultures (microorganisms such as bacteria, yeast and molds).
What are cheesemaking ingredients? To make cheese, you only need milk, cultures, rennet and salt. That's it! Some cheeses don't even use rennet. That means three or four ingredients help give us the amazing display of cheeses we see in the store today.
How was cheese discovered? Thousands of years ago, people stored milk inside animal stomachs because that is what was available. In the stomach is an enzyme called rennet. Rennet caused the milk to firm up which is one of the steps of cheesemaking.
HOMEWORK: Easy Farmers' Cheese
- 1-gallon milk
- 1/2 cup cultured buttermilk
- Salt to taste
1. Take one gallon of milk and without opening it, submerge it in a bowl or sink of warm water (this could be the warm water from washing dishes). Hold it in the warm water for 20 minutes or until the side of the container feels pleasantly warm.
2. Next, remove the bottle from the water. Dry it off. Open it up. Pour yourself a cup worth (to make some space for the next ingredient).
3. Now pour 1/2 cup cultured buttermilk (look for it in the grocery store in the milk section) into the bottle. Put the lid back on and gently turn the bottle upside down a few times to mix in the buttermilk. Leave the lid on and rest the bottle of milk with buttermilk on the countertop. Do NOT put it back in the fridge.
4. After 18 to 36 hours, come back to the milk and investigate to see if it looks and smells different. It should smell yogurty and probably will have thickened slightly or completely, depending on the amount of time you leave it.
5. Here comes the fun part: squeeze and gurgle all the milk out of the bottle and into a pasta pot. It will be splashy so make sure you've got an apron on! When all the milk is in the pot, place the pot on the stove. With adult assistance, turn on the stove to medium heat. Stir every other minute and gently as you bring the temperature of the pot up to 115°F or, if you don't have a thermometer, until the milk feel like a very warm bath (but not unbearably hot). During the heating, you will notice the milk change from thick and liquid to distinctly chunky. It is now 'curds and whey'. Leave the curds in the hot whey for 10 minutes.
6. Afterwards, move the drained curds out of the pot with a ladle and over to a fine mesh colander set over the sink. If you have a clean cotton dish cloth or piece of cheese cloth, you can line the colander with it to help with the draining. Allow the cheese to drain for 1 hour or up to 1 day if you want a drier cheese.
7. Finally, plop the drained curds into a bowl. Mix with salt and any seasoning you want. Some ideas include: honey, herbs, edible flowers, cinnamon, hot peppers and vanilla. If you want a softer cheese, whisk in some heavy cream. Pack finished seasoned cheese into a container with a lid. Eat right away or store in fridge for up to 1 week.
HOMEWORK: Sour Cream
- 1-pint heavy cream
- 2 tbsp buttermilk
- ¼ tsp salt
1. WARM Put the plug into the kitchen sink and fill it halfway full with hot water. Take the pint of heavy cream out of the fridge and, without opening it, set it in the sink. Wait one hour for the cream to warm to room temperature (or about 75 to 85F). The cream should feel like barely warm bath water when done.
2. CULTURE Next, open the container of cream and pour it gently into the clean container. Add in the 2 tablespoons of buttermilk and stir gently. Put the lid on the container then leave it on the countertop for a day and a half (24-36 hours). Open the container and notice how the cream is thick! Smell that buttery smell.
3. EAT Gently stir in the salt and then store in the fridge for up to 3 weeks.
Eating Ideas for Your Homemade Cheese
Try these ideas for your homemade sour cream and/or farmers’ cheese:
· Take a corn chip. Top with a dollop of sour cream then top with a black olive. Take a bite.
· Drizzle a small dish of sour cream generously with honey to make a pretty pattern. Sprinkle cinnamon over the top then use as a dip for peach slices.
· Mix a pint of sour cream with ¼ tsp garlic powder, 2 tsp onion powder, ½ tsp dried basil and ¼ tsp ground black pepper for a fun veggie dip.
· Plop on top of bean tacos along with cucumbers and fresh sprouts.
· Mix a spoonful of sour cream or farmers’ cheese into your guacamole.
Keep Learning!
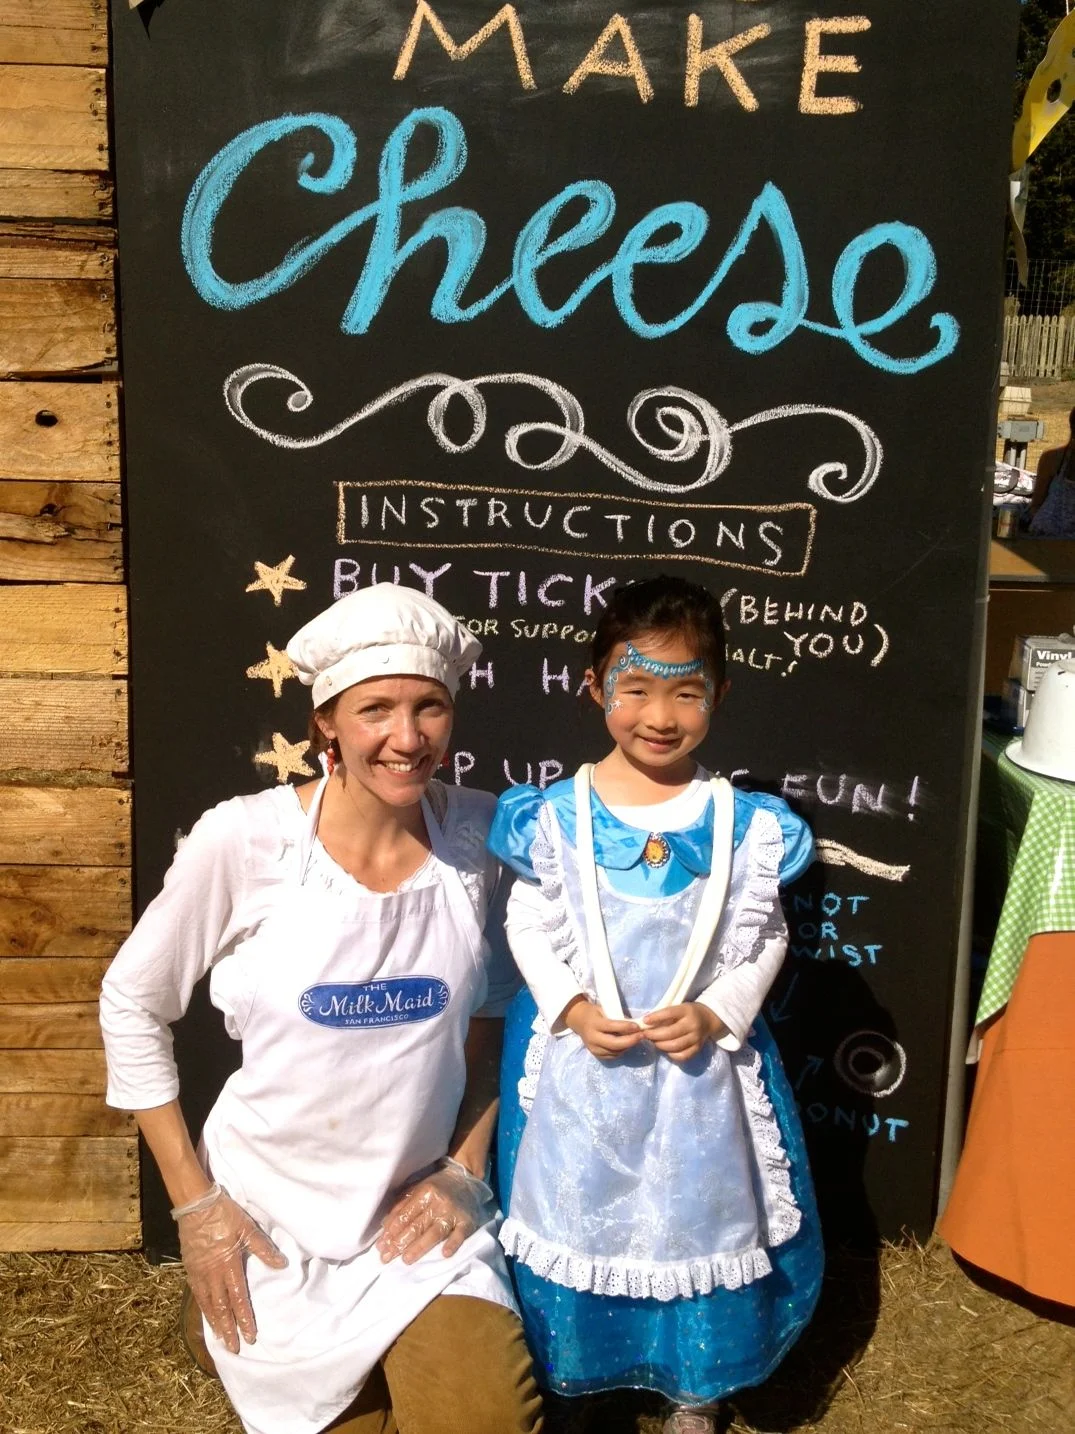
It's been my mission for a while now as The San Francisco Milk Maid to make cheesemaking more assessable to those who’ve been getting the short end of the (cheese) stick. Kids! To get kids in the cheese loop, I've been teaching at schools, harvest festivals and even kids-only classes at area cooking schools. I hope you enjoy these recipes as great starting points for kids who want to make cheese. Once they give these a shot, they'll only want to go deeper into the magical work of cheesemaking.
Now you are hooked and want to know more and make more cheese, right? Excellent. Here is a resource where you can find both recipes plus any ingredients you could ever need for cheesemaking: The Beverage People.
Attend an Upcoming Class
If you are hooked on this cheesemaking idea and want to get some up-close, hands-on cheese time with Louella, contact her through her website (she does private events such as birthday parties). Learn more on SFMilkMaid.com.
Meet The Milk Maid
Louella Hill’s passion for cheesemaking started on a sheep farm in Tuscany where she spent each day milking sheep, haying fields and making Pecorino. Since then, she has apprenticed with small-scale cheesemakers in Europe, Mexico and throughout New England. She is now know locally as The San Francisco Milk Maid, teaching home cheesemaking to anyone--especially kids--and her book on home cheesemaking, “Kitchen Creamery,” came out April 2015. Look for her often sold-out classes at locations such as The Cheese School of San Francisco, 18 Reasons, Cavallo Point Cooking School and The Ferry Market Building.
Visit www.sfmilkmaid.com for more info.


